MODULE 15:- Website Hacking
- How To Create a Virtual Lab For Web Penetration Testing
- How to use httrack website copier command line
- How to use httrack website copier graphically
- Free Website Vulnerability Scanner – W3af in Kali Linux
- How to use Arachni scanner for Web Application vulnerability in Kali Linux
- Inject SQL Injection Script by using Firebug | SQLi Part1
- Mutillidae Part 2: Command Injection Database Interrogation
How to install Mutillidae on Fedora 20
What is Mutillidae?
OWASP Mutillidae project is a free, open source, deliberately vulnerable web-application giving a focus to web-security lover.
With many vulns and clues to help the client; this is a simple to-utilize web hacking environment intended for labs, security devotee, classrooms, CTF, and weakness appraisal apparatus targets. Mutillidae has been utilized within graduate security courses, corporate web sec instructional classes, and as a “survey the assessor” focus for defenselessness evaluation programming.
Pre-Requisite
Installed Fedora on VirtualBox
How to install Fedoar on VirtualBpX Click Here
Downloaded Latest version of mutillidae
http://sourceforge.net/projects/mutillidae/
Step 1: Configure Fedora 20 Virtual Machine Settings
- Open VirtualBox
Start your Host Computer, Go to
Start à All Program à Oracle VM VirtualBox à Oracle VM VirtualBox
OR
Click the Start Button
Type “VirtualBox” in the search Box
Click On Oracle VM VirtualBox -
Edit Fedora Virtual Machine Settings
Select Fedora Virtual Machine
Click on the Setting button, exist left top corner of VirtualBox
Edit Network Adapter: Highlight Network in left menu option, Then configure network Attached to: NAT


Step 2: Configure Fedora for Mutillidae
- Hilight Fedora Virtual Machine then click on “Start” icon on the top left corner of VirtualBox
-
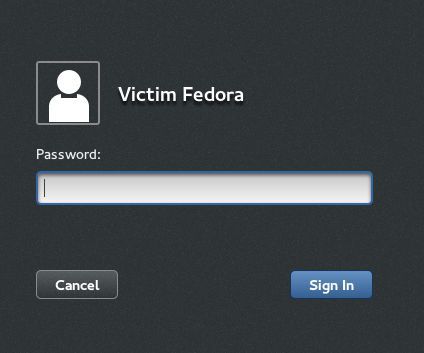
Login to Fedora
Username: Victim Fedora
Password: <Whatever you Set>
Open terminal and switch to “root” root by using following command
$su
<password what ever you set for “root” user>
- Open Console Terminal and Check the connectivity with internet by using following command:
#ping www.google.com
Step 3: Disable SELinux
- Open the SELinux configuration file with any text editor software in Linux
#gedit /etc/selinux/config 2> /dev/null &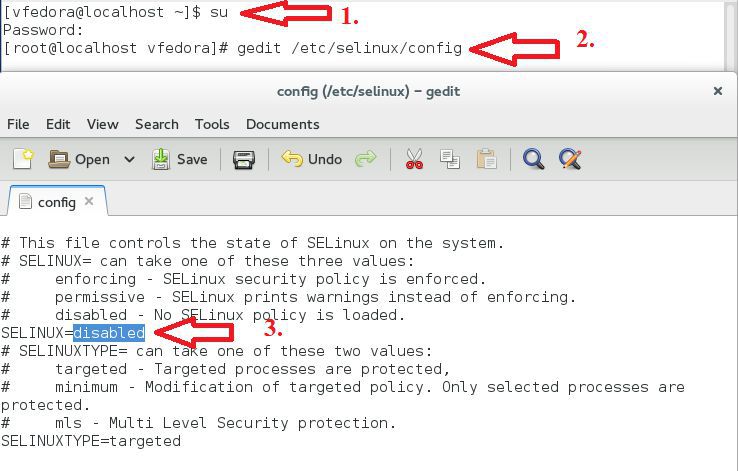
gedit: is a text editor for the GNOME Desktop.
/etc/selinux/config, is the file name.
2> /dev/null, sends standard error messages to a black hole (/dev/null)
The “&” is used to run gedit in the background -
Delete enforcing.
Take cursor down to SELINUX=enforcing inside the /etc/selinux/config file
Delete the enforcing word.
Replace “enforcing” with the word “disabled”
Click the save file

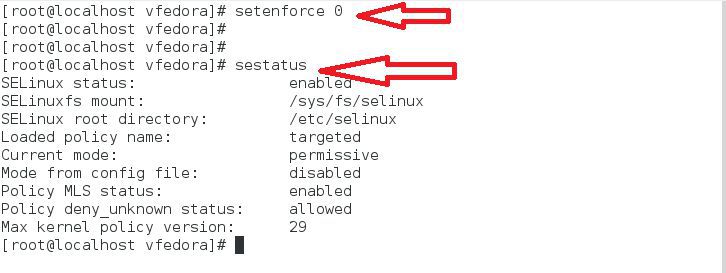
- Next two commands are required to disabled SELinux properly
#setenforce 0
#sestatus
-
Disable the Firewall
#service iptables stop
#chkconfig iptables off (is used to disable firewall permanently)
Step 4: Install Required packages
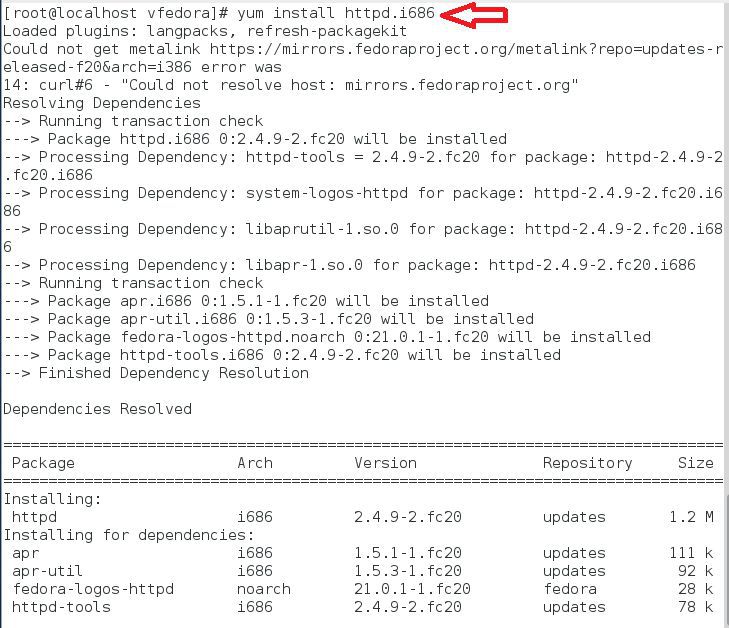
- Install Apache httpd Server
Apache is a Web server used to make computer work as Web Server It can installed in Fedora by using following commands
#yum install httpd.i686
“y”(It will ask later for use confirmation)
- Start Apache Server
Apache listening Daemon can be started by using following command:
#service httpd start
Check the status Apache is running or not
#ps –eaf | grep httpd
#chkconfig –level 2345 httpd on
These command is used to start up script of httpd for given run levels 2, 3, 4, and 5.

- Install mysql and mysql-server
#yum install mysql.i686
Is this okay [y/N]: y and hit enter to proceed
#yum install mysql-server

Is this okay [y/N]: y and hit enter to proceed
#service mysqld start

Service mysqld can be made to run at every startup then, it is created a startup script for run level 2, 3, 4, and 5. Setup the password for mysql “root” user password to “toor” by using given commands
#mysqladmin –uroot password toor

Login to mysql
#mysql –uroot –p (Enter)
Enter the password: toor
>show databases;
>quit

Allow Remote Access to MySQL
Remote access is not part of Mutillidae installation. Remote Access can be allowed by using following commad.
#echo “use mysql; GRANT ALL PRIVILEGES ON * .* TO ‘root’@’%’ IDENTIFIED BY ‘toor’ WITH GRAN OPTION;” | mysql –uroot -ptoor

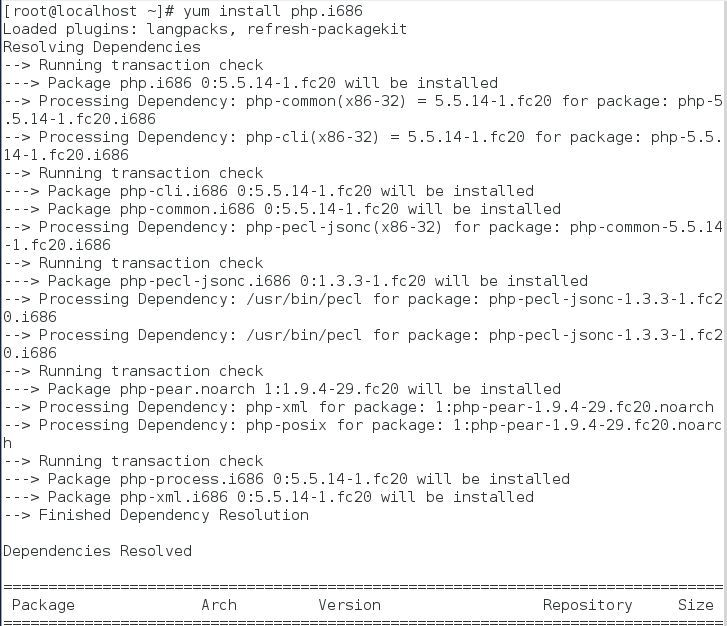
- Install PHP
Install PHP:
#yum install php.i686
Is this okay [y/N]: y and hit enter to proceed
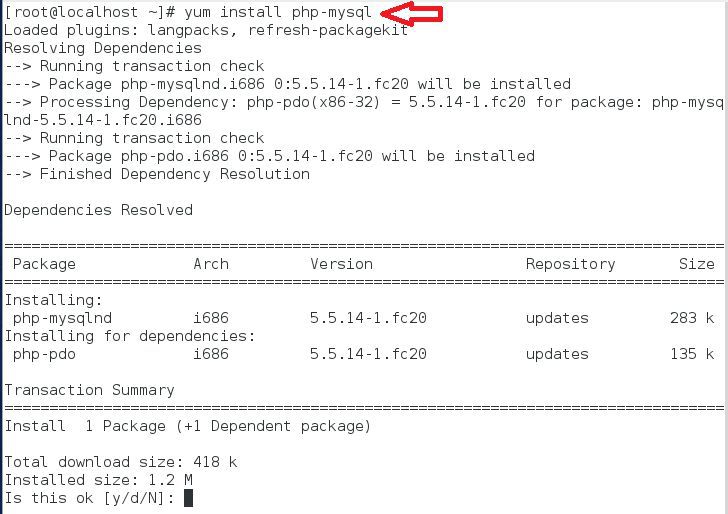
install php-mysql:
#yum install php-mysql
Is this okay [y/N]: y and hit enter to proceed
Install php-pear
#yum install php-pear php-pear-DB
Is this okay [y/N]: y and hit enter to proceed

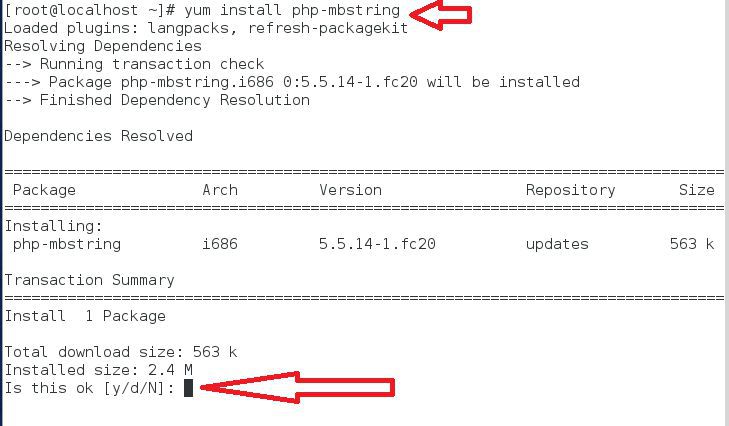
Install php-mbstring
#yum install php-mbstring
Is this okay [y/N]: y and hit enter to proceed
Open & Edit php.ini
#gedit /etc/php.ini 2> /dev/null &
gedit is a text editor for Linux platform “/etc/php.ini” is php configuration file. The “&” is used to open gedit in the background
Search à Find..
Search for: ; extension
Click to find button
In the next line of ‘; extension_dir = “./”’ add the following code
extension=mysql.so
Save and close the file.Restart Apache :
#service httpd restart
Install wget :
#yum install wget
Is this okay [y/N]: y - Install Mutillidae
Download the Unzip file of Mutillidae project for Web penetration testing
Copy in /var/www/html
unzip LATEST-mutillidae-<latest Version>

Open & Edit MySQLHandler.php
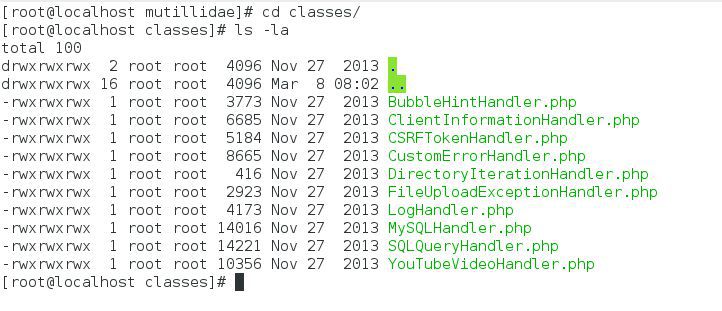
#cd mutillidae/classes/
#ls –lrta
# gedit MySQLHandler.php 2> /dev/null &
The MySQLHandler.php is the file of mutillidae database configuration file. Arrow down at the line “$mMySQLDatabasePassword = “” and set the password as “toor”. Save and close the file
Change the ownership:
Go inside the location /var/www/html
#chown apache:mysql mutillidae
#chmod 770 mutillidae
#ls –ld mutillidae

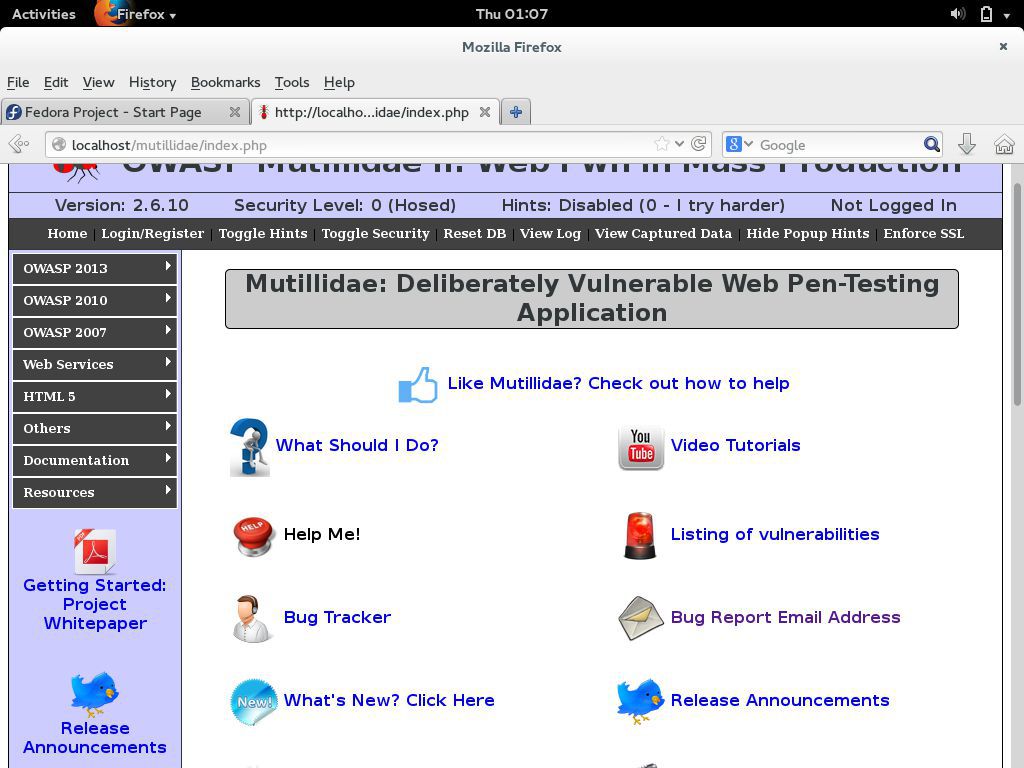
Start the Firefox
And enter http://loacalhost/mutillidae in Address bar.

Click on setup/reset the Database
Setting up the database
Click Ok button - Welcome to Mutillidae ………